
User Guide & House Rules
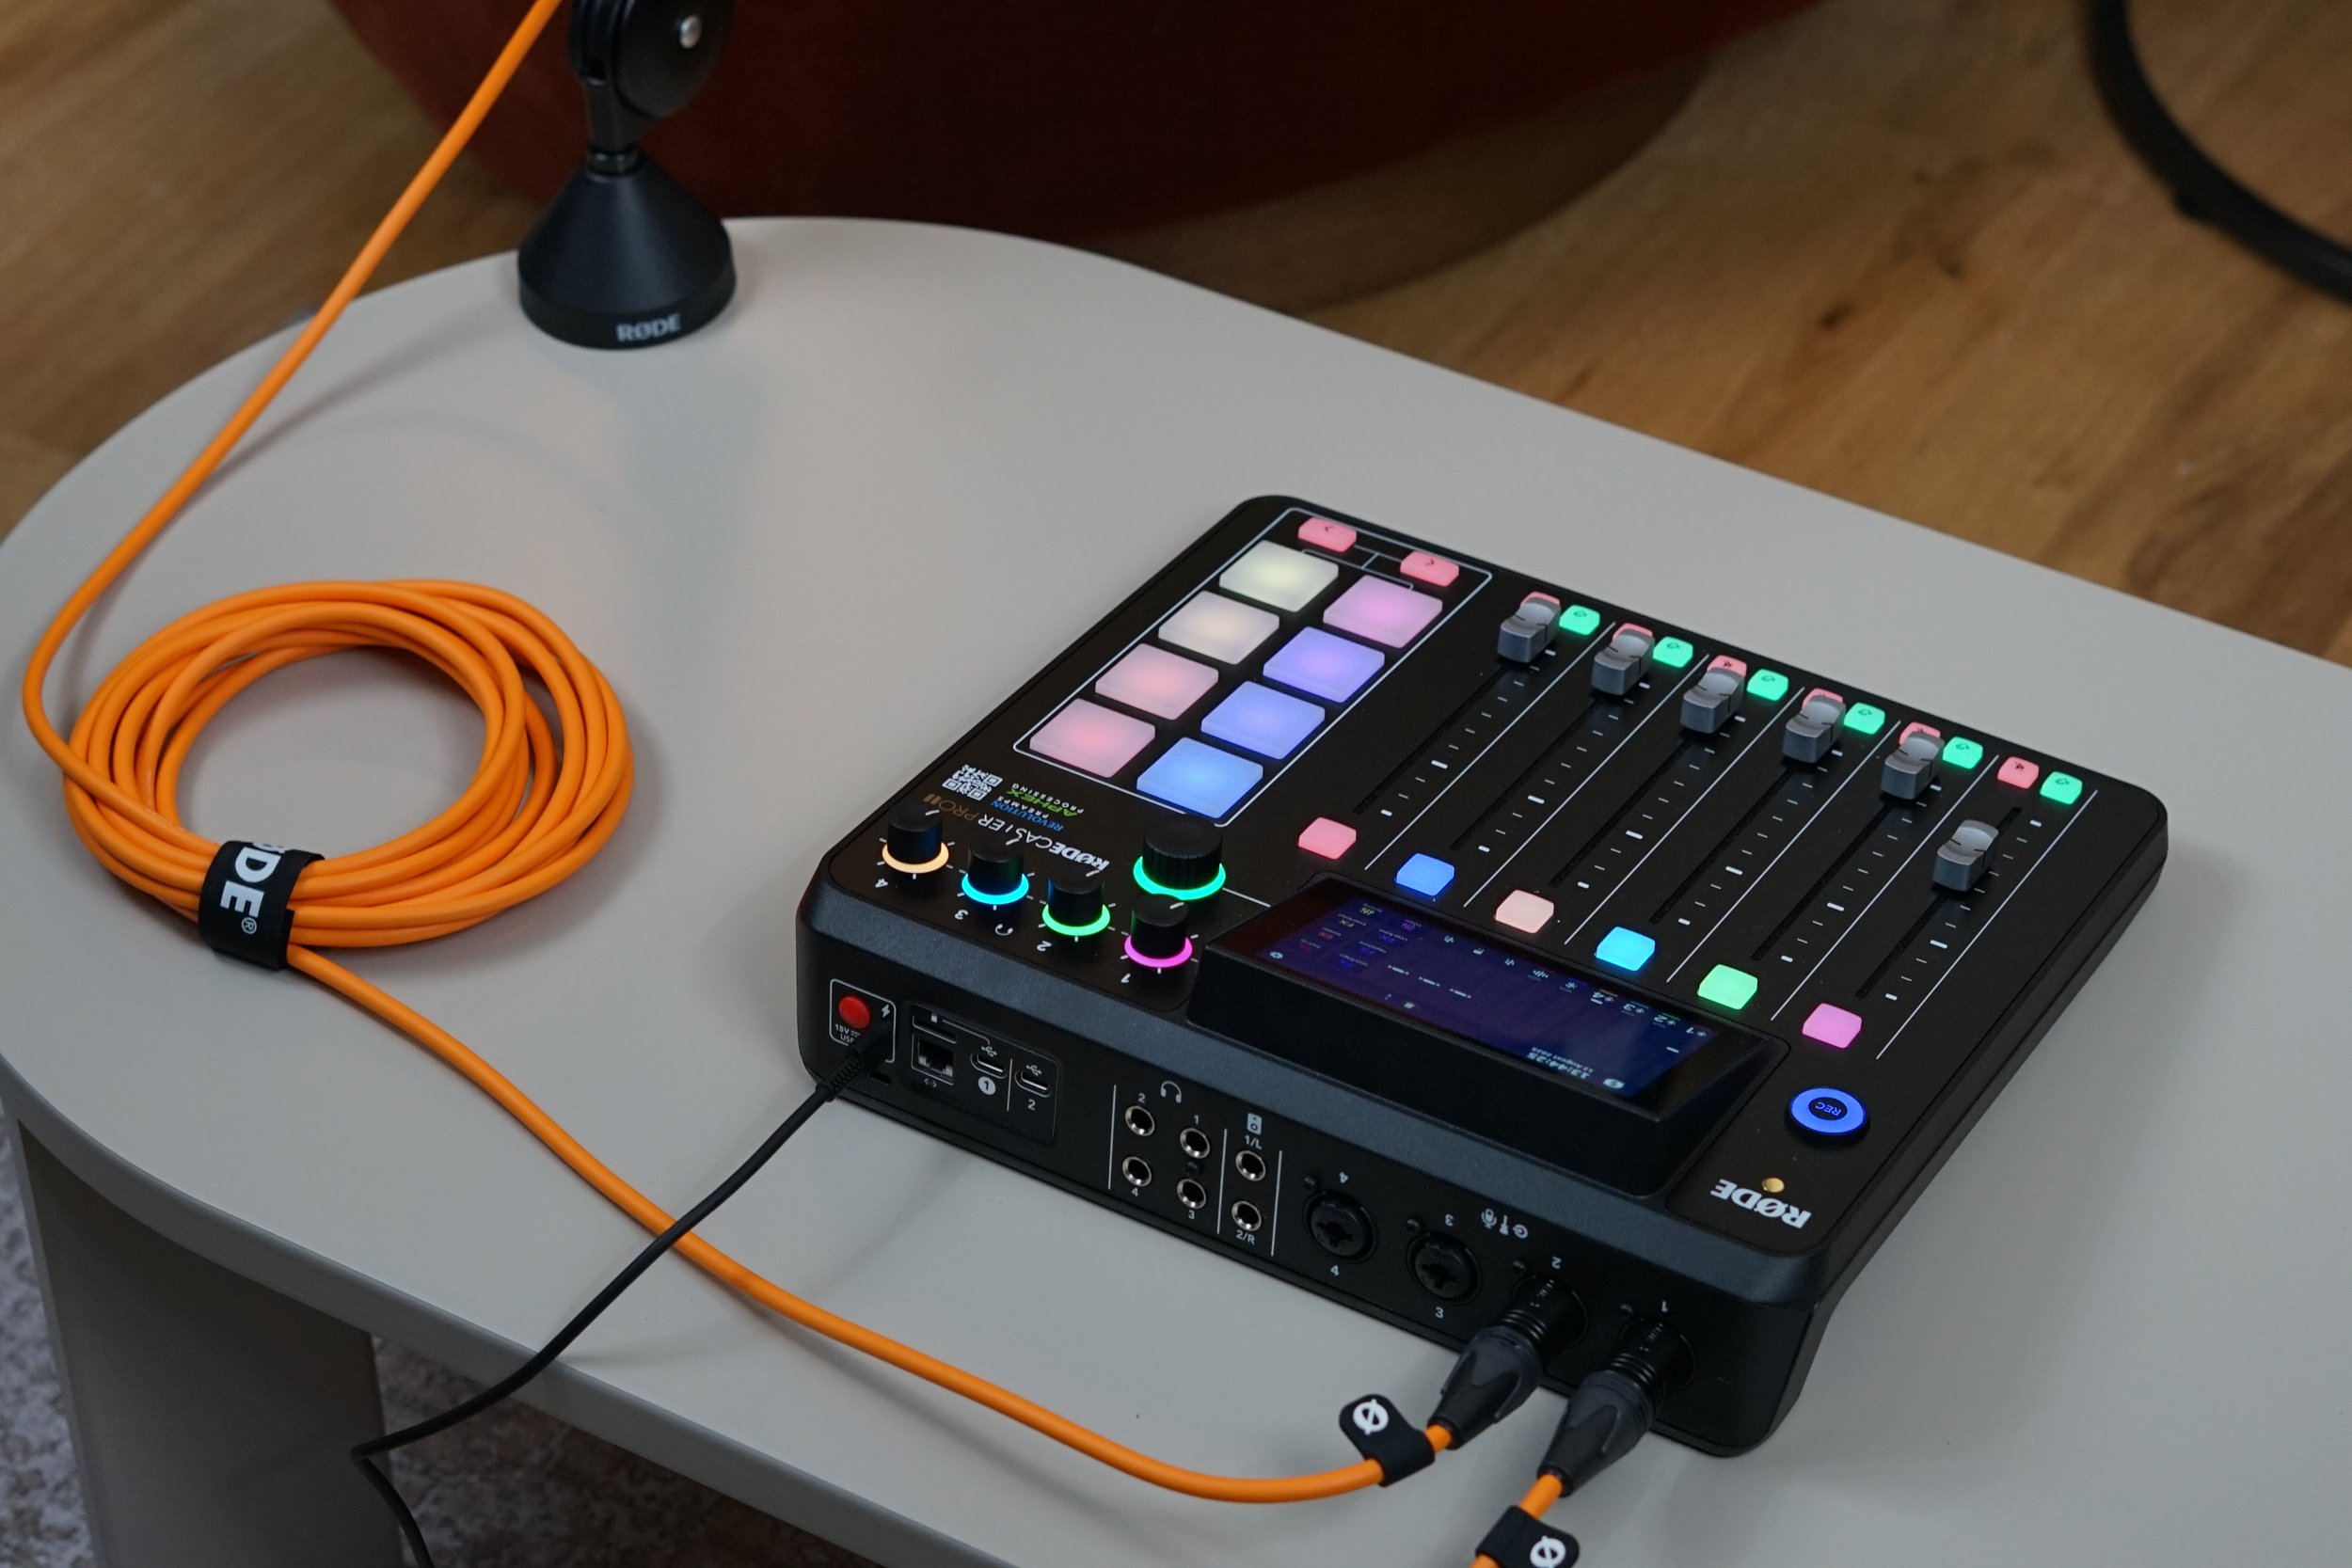
How to Record: Rodecaster Pro II
Option 1: Record Directly to your own SD Card
Insert your own Micro SD card into the slot on the back of the Rodecaster Pro II.
Power on the device with the red button on the back of the Rodecaster Pro II.
Adjust mic levels with faders 1–4 (speak to test levels; aim for green/yellow, avoid red).
Press the Record button to start recording.
Press again to stop. We recommend testing before you begin recording your podcast.
Option 2: Connect to a Laptop via USB-C cable supplied
Connect the Rodecaster to your laptop via USB-C port at the back.
Select "RØDECaster Pro II" as your audio input device in your recording software.
Set up multitrack or stereo recording in your software.
Adjust mic levels on Rodecaster, arm tracks in software, and record.
Save your recording files on your laptop.
Option 3: Connect to Phone or Tablet via USB-C cable supplied
Connect the Rodecaster to your mobile device with the appropriate USB-C to Lightning or USB-C cable.
Open a recording app (e.g. Ferrite).
Configure the app to use the Rodecaster as input and record.

How to Record: Canon SX740
Cameras are mounted on tripods.
Insert your own SD card by unlocking the battery chamber on the bottom.
If the battery is not in the camera, please look to the charger on the wall.
Power on using the ON button on top.
Press the REC button, which is red underneath the protective cover, to start/stop recording. We recommend testing before recording your podcast.
Please note that cameras automatically stop recording at 29 minutes and 59 seconds. To continue recording beyond this point, simply start a new recording.
After use, return cameras to original positions.
Studio Guidelines
Wi-Fi is available during your session.
Network: Goldsmith Personnel
Password: Churchh1ll
You may bring beverages, but only in sealed containers or cups with lids to minimise spill risk.
Use the two available sets freely.
Please leave the studio tidy — take all rubbish and belongings with you.
Please contact our receptionist for bathroom access on 020 8509 3766
🚫 No smoking or vaping inside the studio.
🚫 No open food or hot meals to avoid damage.
🚫 Do not unplug or move cables unless clearly instructed.

Mics, Headphones, Lighting, Tripods & Aircon
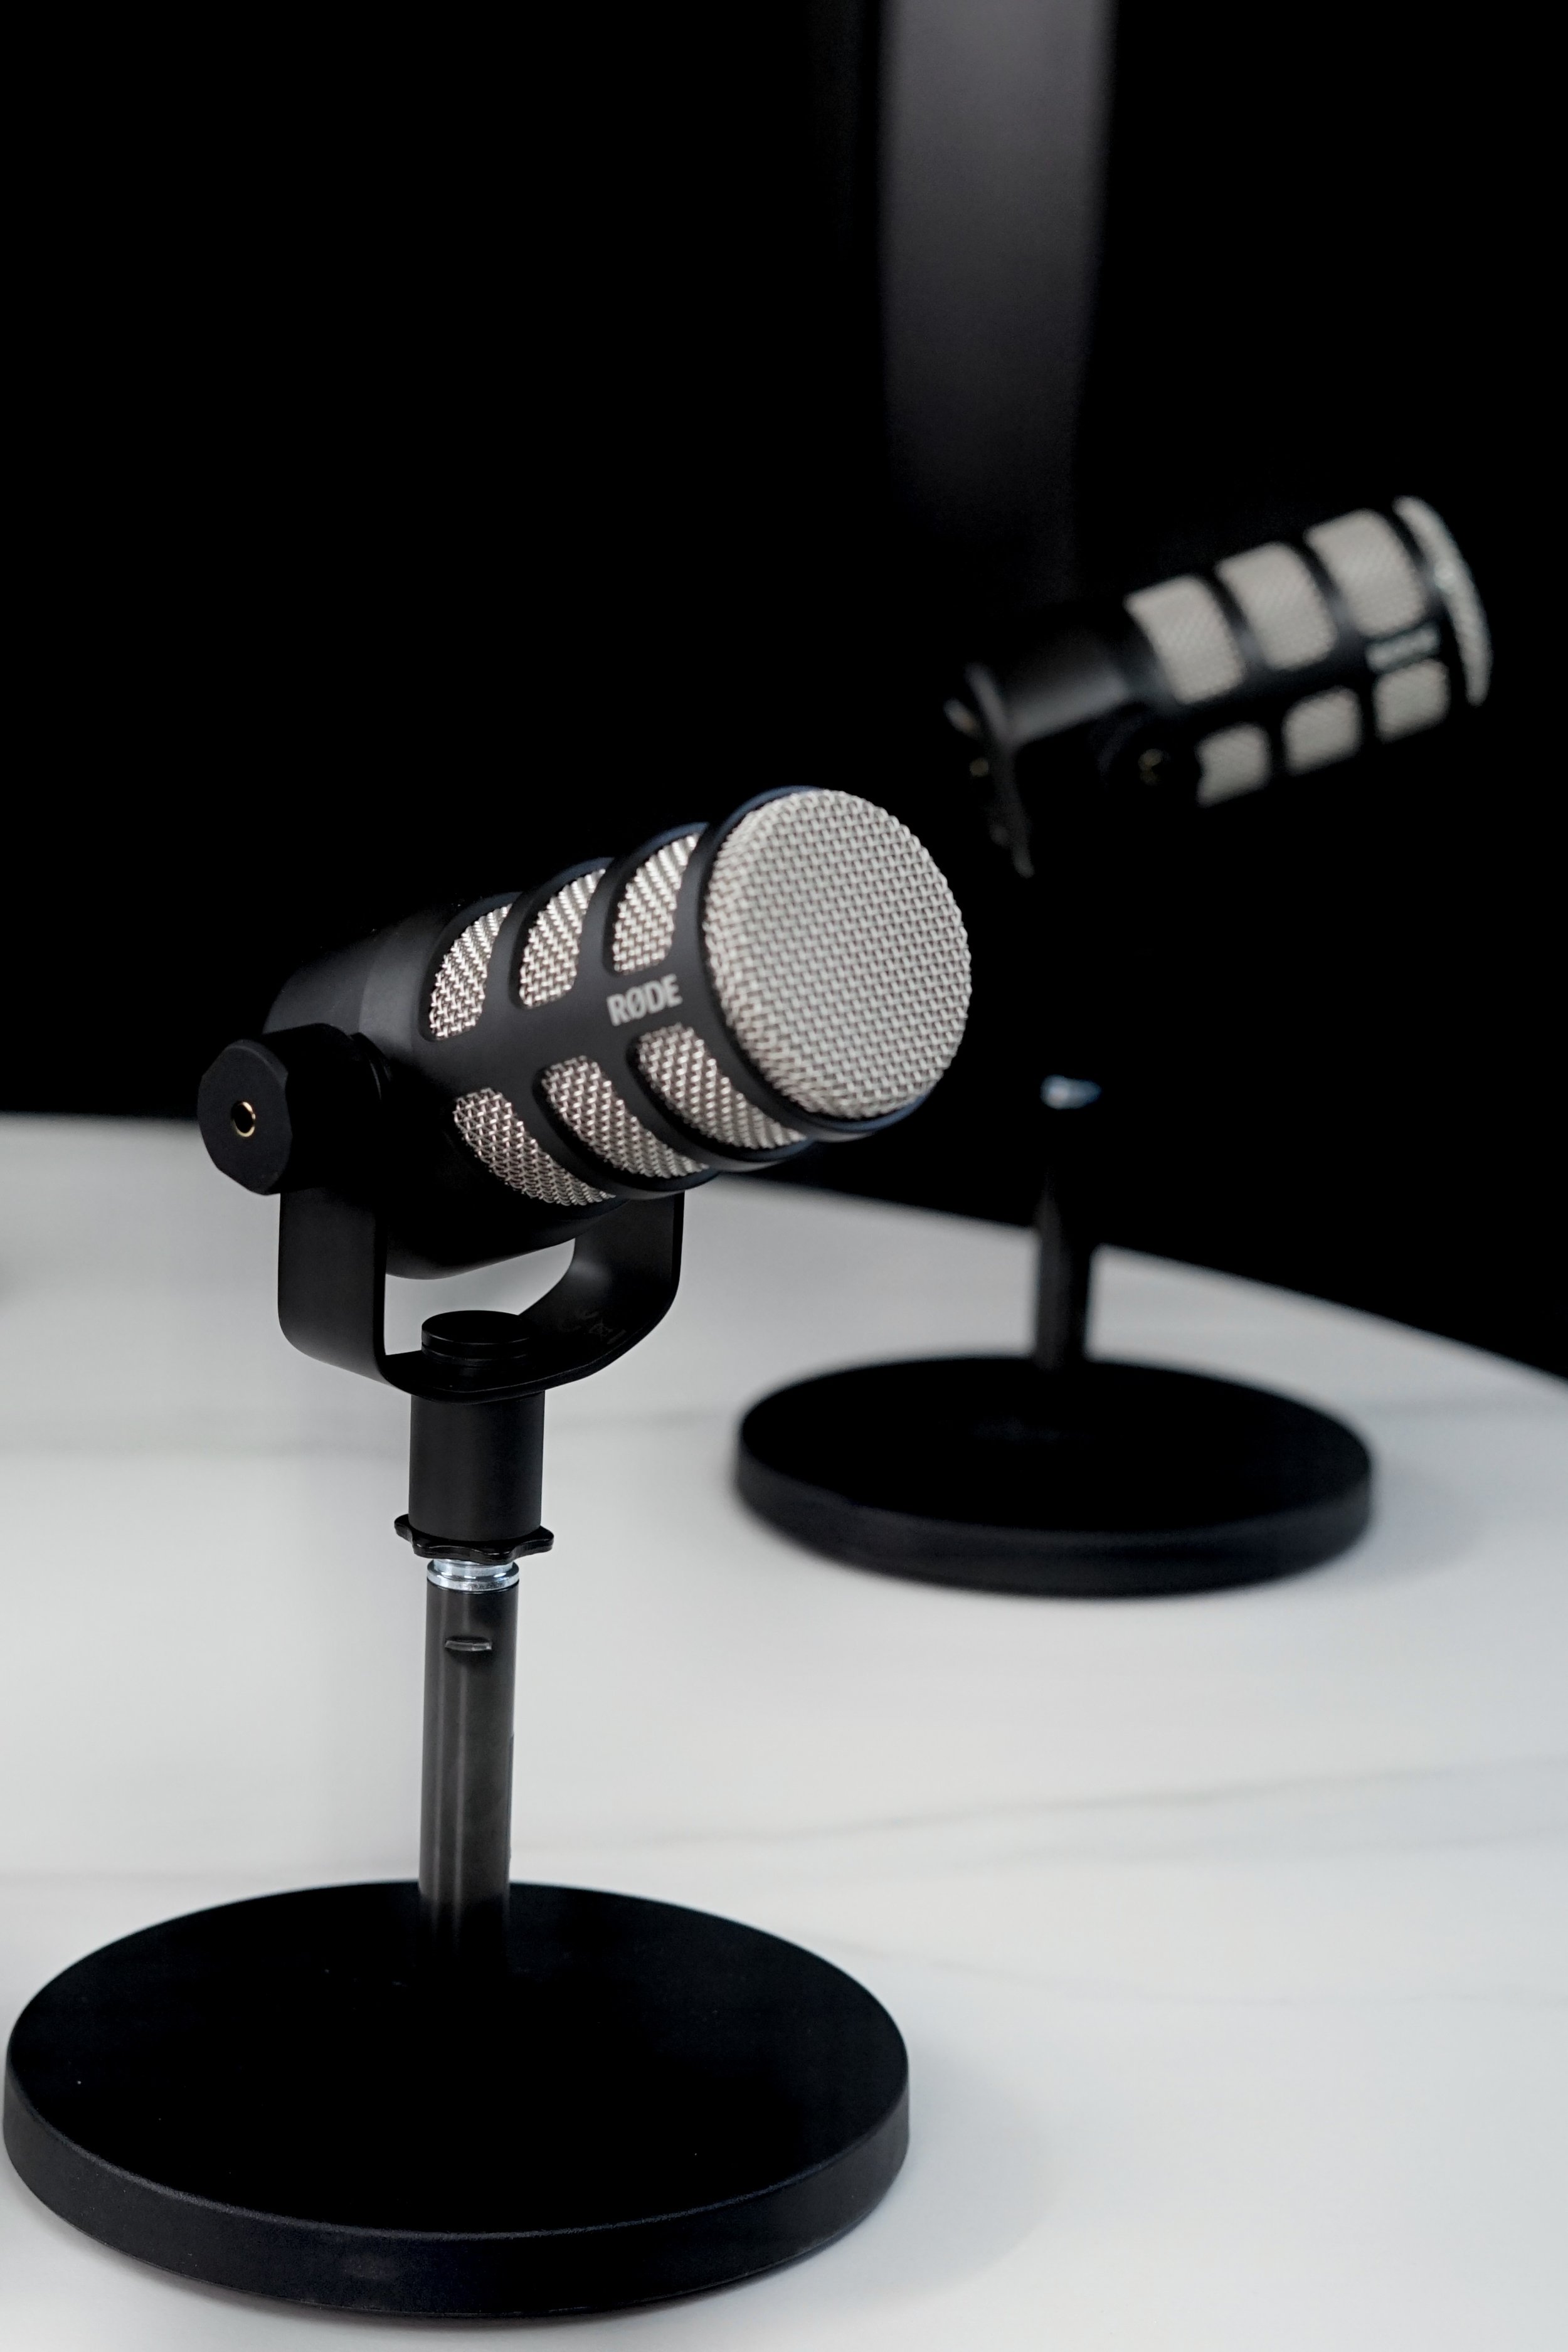
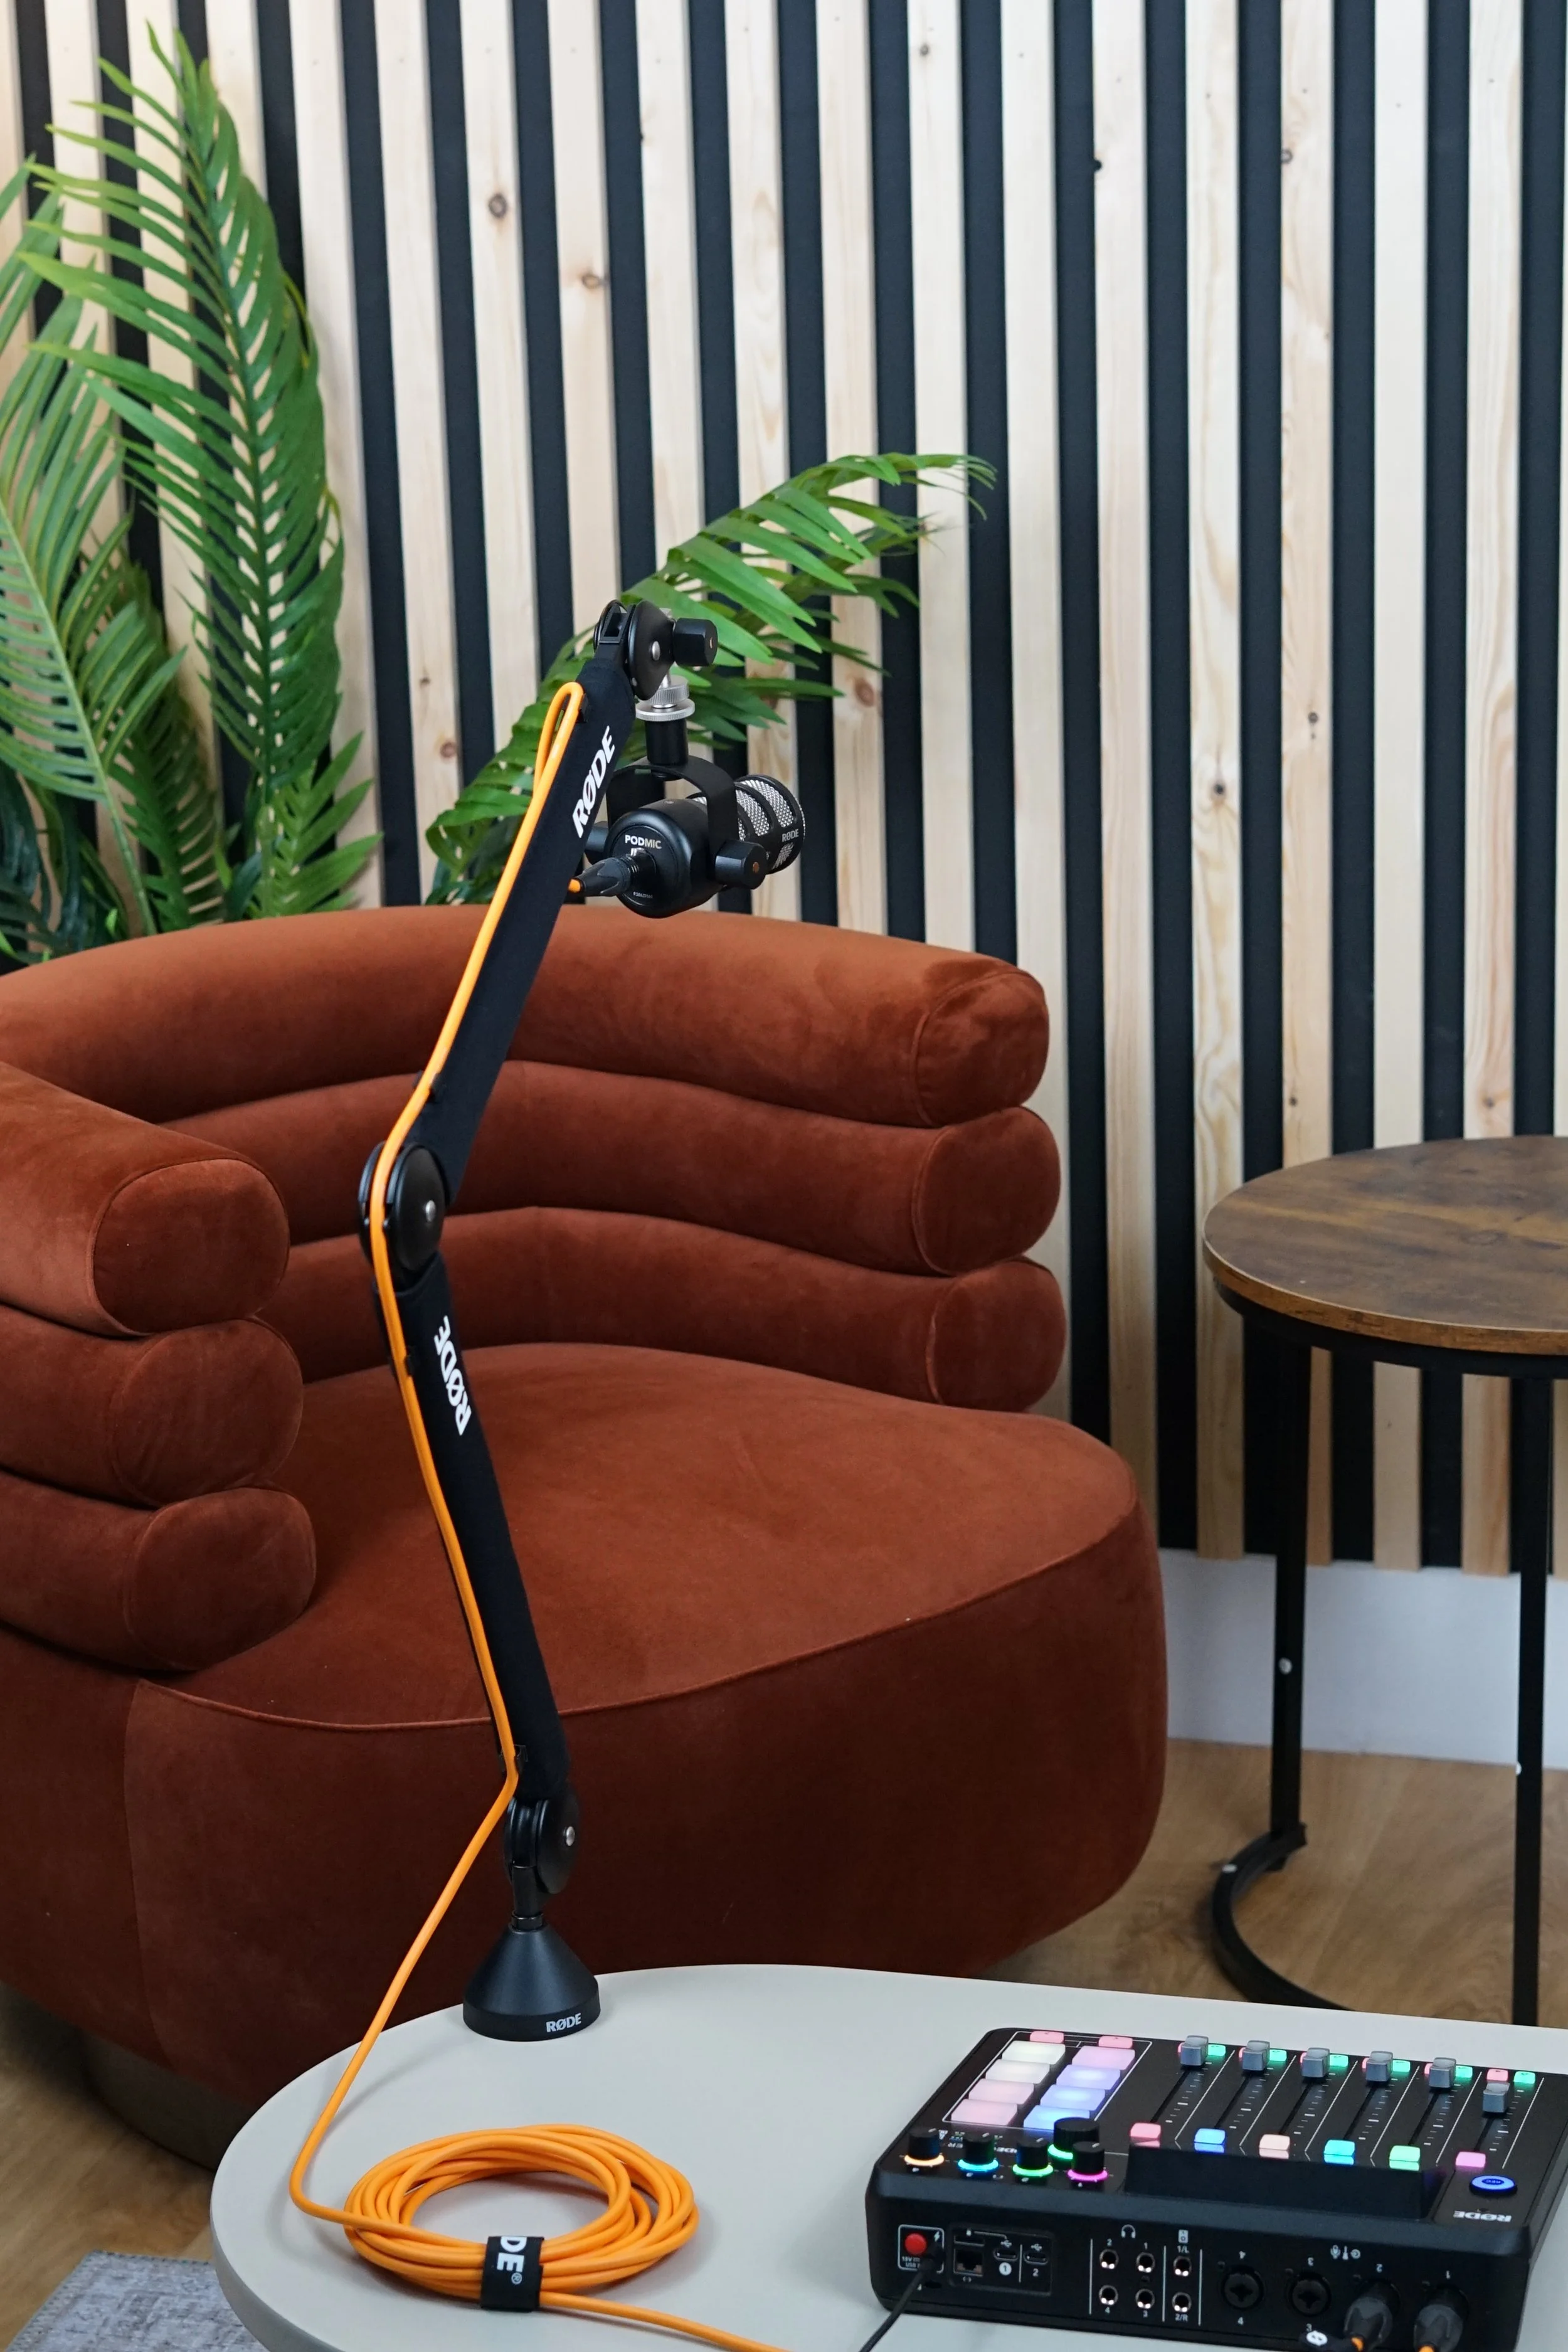
Mics
To move microphones between sets, at the bottom of the PodMic, where the cable plugs in, you’ll see a small metal latch button on the XLR connector.
Using your thumb or finger, press down the latch (it usually clicks in slightly) to unlock the connector from the microphone. While holding the latch down, gently pull the XLR plug straight out from the mic. Don’t twist or yank — the pins should slide out smoothly.
Hold the PodMic firmly by its body so it doesn’t drop. Turn the PodMic anti-clockwise. Keep turning until the threads disengage fully.
Move to the chosen set. Hold the PodMic firmly by its body. Align the threaded hole at the bottom of its yoke with the threaded end of the microphone stand/arm. Plug your XLR cable into the base of the PodMic and ensure it’s connected to the Rodecaster Pro II.
Headphones
Plug NTH-100 headphones into the labelled headphone outputs on the back of the Rodecaster.
Use the corresponding volume dial above each port to adjust your own level.
Test your mic levels while wearing headphones to ensure clear, balanced sound before recording.
Lighting
Use the on/off switch on the power cable.
There is no dimmer so to adjust loosen side knobs; unlock clamps on stand and gently turn softbox on the stand.
Do not touch the bulb when hot and keep away from liquids and walkways.
Tripods
To adjust unlock the leg clamps to raise/lower and loosen the head knobs to tilt or pan.
Aircon
Use the remote control provided and please turn off completely when leaving the studio.